

Oracle continues to push database innovation forward with Oracle Database 26ai, bringing AI-ready architecture, performance improvements, and future-focused tooling. For DBAs and system administrators, installing the Oracle 26ai Client is often the first step—especially when you need database connectivity without running a full database instance.
In this guide, we’ll walk through a complete Oracle Database 26ai Client installation on Linux, using real installer screenshots and practical explanations. This walkthrough is ideal for jump servers, application hosts, and DBA utility servers.


Why Install Oracle Database 26ai Client?
Oracle Database Client software allows you to connect, manage, and troubleshoot Oracle databases without the overhead of a full server installation.
Key benefits include:
- Lightweight installation footprint
- SQL*Plus and Oracle networking tools
- Compatibility with Oracle 19c, 21c, 23ai, and 26ai databases
- Ideal for application servers and admin nodes
- Clean separation of client and database homes
If your server only needs connectivity—not data files—client-only installation is the best practice.
Pre-Installation Checklist
Before launching the installer, ensure the following:
- Linux OS (Oracle Linux / RHEL / compatible)
- Oracle user and inventory configured
- Required OS packages installed
- At least 256 MB RAM (recommended much higher)
- Adequate free disk space under
/u01
Example environment used in this setup:
- Oracle Base:
/u01/app/oracle - Oracle Home:
/u01/app/oracle/client_2
Step 1: Specify Installation Location
The installer starts by asking where Oracle software should be placed.
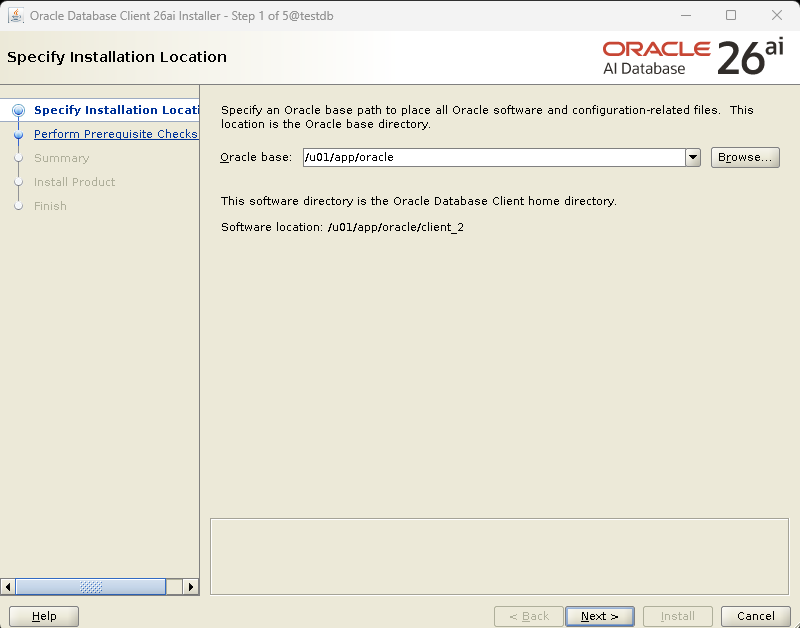
Here, we define:
- Oracle Base:
/u01/app/oracle - Oracle Home:
/u01/app/oracle/client_2
Oracle automatically creates the client home under the base directory. Using a clean and consistent directory structure makes future patching and troubleshooting much easier.
👉 Click Next to proceed.
Step 2: Perform Prerequisite Checks
Oracle now validates whether your system meets the minimum installation requirements.
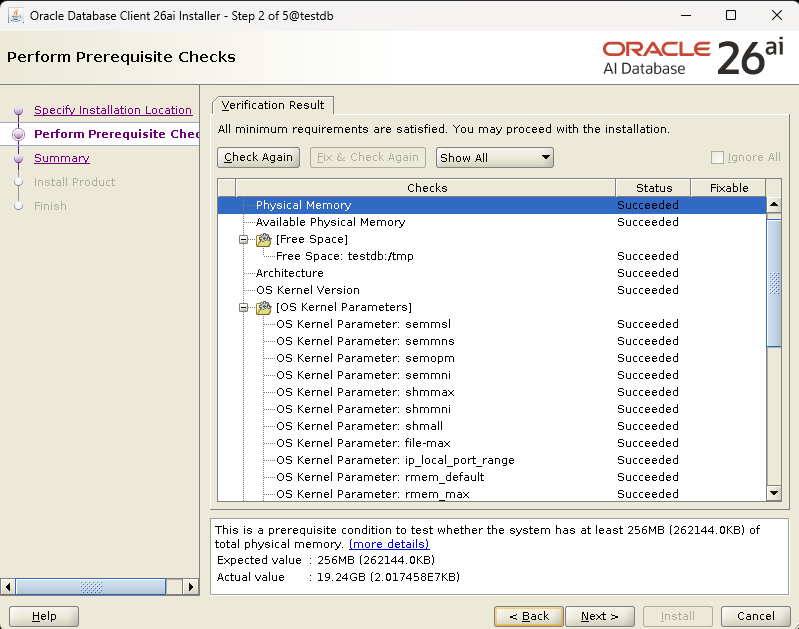
Checks include:
- Physical and available memory
- Disk space (including temp directories)
- OS architecture
- Kernel version
- Kernel parameters such as:
semmni,semmnsshmmax,shmallfile-maxip_local_port_range
Result:
✅ All minimum requirements are satisfied.
In this setup:
- Required memory: 256 MB
- Actual memory: ~19 GB
This confirms the system is more than capable of running Oracle 26ai Client.
👉 Click Next.
Step 3: Review Installation Summary
The Summary screen is your final checkpoint before installation begins.

Displayed details include:
- Product: Oracle Database Client 26ai
- Oracle Base:
/u01/app/oracle - Oracle Home:
/u01/app/oracle/client_2
At this stage, you can:
- Review paths
- Save a response file for silent installs
- Confirm nothing conflicts with existing Oracle homes
Everything looks good—time to proceed.
👉 Click Install.
Step 4: Install Product
The installer now performs the actual installation tasks:

- Configure local node
- Prepare and link binaries
- Set up Oracle Base
- Configure Oracle Client components
Progress is shown in real time, and you can open Details for deeper visibility. This step usually completes within a few minutes.
No manual intervention is required during this phase.
Step 5: Installation Complete
Once installation finishes, you’ll see the confirmation message:
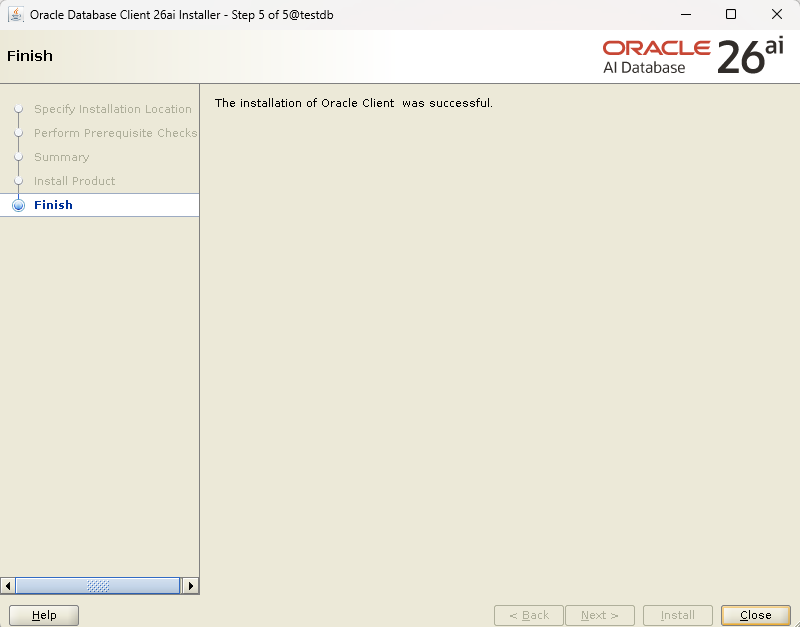
The installation of Oracle Client was successful.
This confirms:
- Client binaries installed correctly
- Oracle inventory updated
- Environment ready for use
👉 Click Close to exit the installer.
Post-Installation Validation
After installation, always verify that the client works as expected.
sqlplus -v

SQL*Plus: Release 23.26.0.0.0 - for Oracle Cloud and Engineered Systems
Version 23.26.0.0.0
Or test connectivity:
sqlplus "/as sysdba"
A successful response confirms:
- SQL*Plus is available
- Oracle Client libraries are accessible
- Environment variables are working correctly
Recommended Environment Variables
Add these to the Oracle user’s .bash_profile:
export ORACLE_BASE=/u01/app/oracle
export ORACLE_HOME=/u01/app/oracle/client_2
export PATH=$ORACLE_HOME/bin:$PATH
export LD_LIBRARY_PATH=$ORACLE_HOME/lib
Apply the changes:
source ~/.bash_profile
Common Use Cases for Oracle 26ai Client
Oracle 26ai Client is commonly used for:
- Application server database connectivity
- DBA jump servers
- Backup and monitoring jobs
- Running SQL scripts and automation
- Supporting mixed-version Oracle environments
Because it’s lightweight, many teams deploy it across multiple servers without performance concerns.
Best Practices
- Keep each Oracle version in a separate Oracle Home
- Patch the client regularly using OPatch
- Avoid mixing client and database homes
- Document installed versions for audits
Final Thoughts
Installing Oracle Database 26ai Client on Linux is a smooth and predictable process when prerequisites are met and Oracle best practices are followed. With AI-ready architecture and future-proof compatibility, Oracle 26ai Client is an excellent choice for modern database environments.
If you manage multiple Oracle environments, client-only installations like this help keep systems clean, secure, and easy to maintain.
Oracle Instant Client Downloads
Installing Oracle Database Client 19c: A Step-by-Step Visual Guide



What’s up, just wanted to mention, I enjoyed this blog post.
It was practical. Keep on posting!