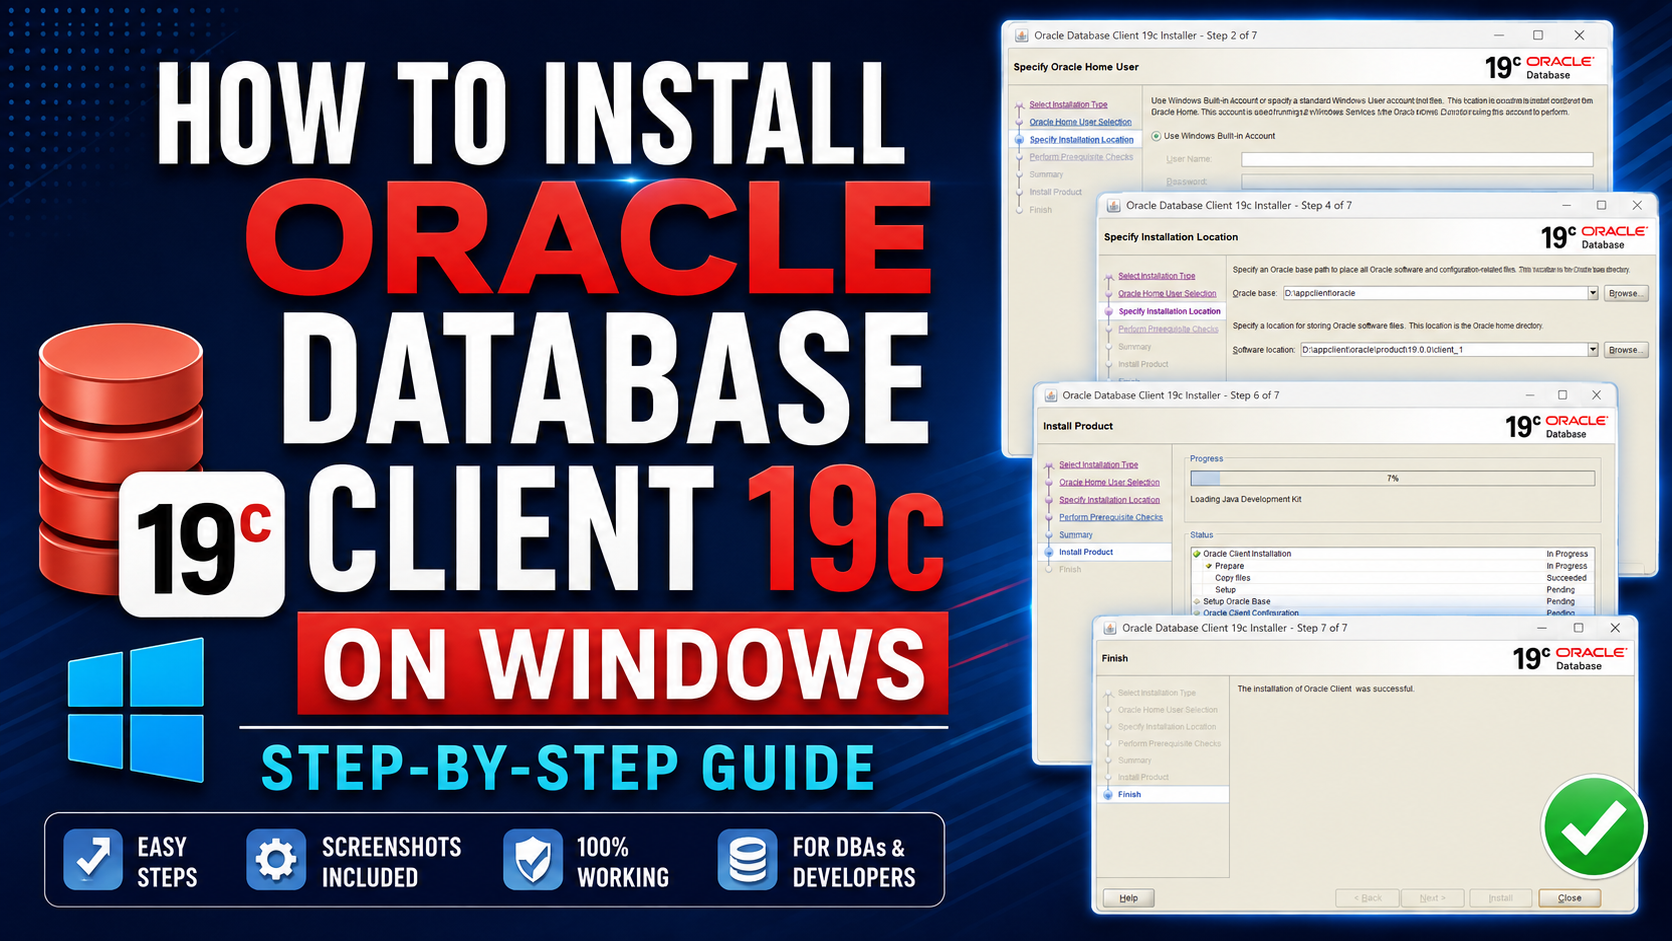
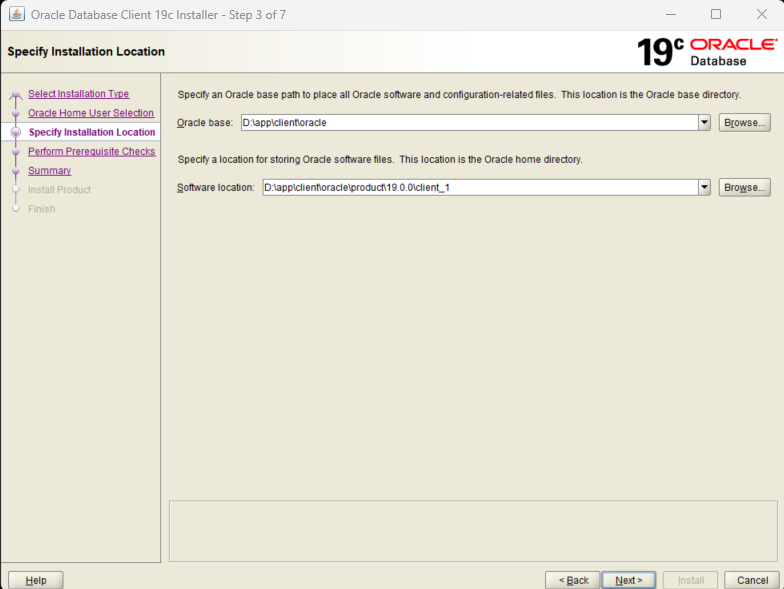
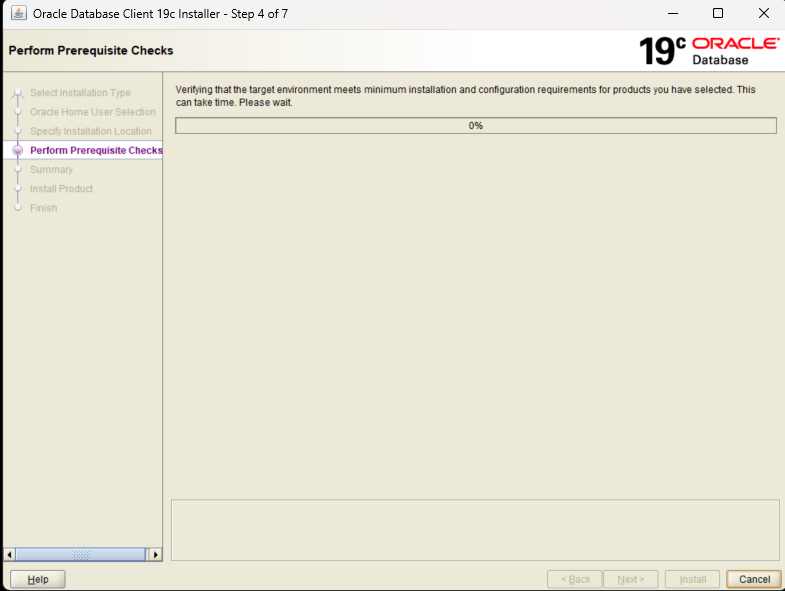
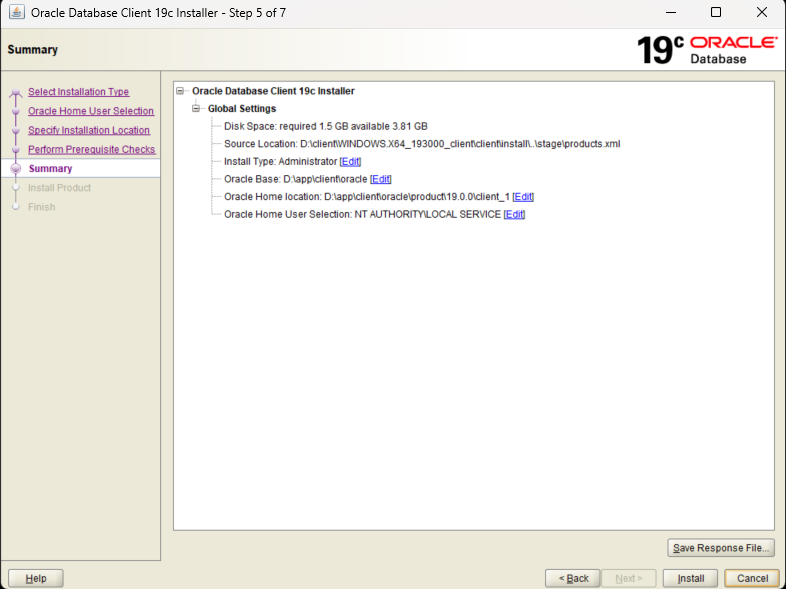
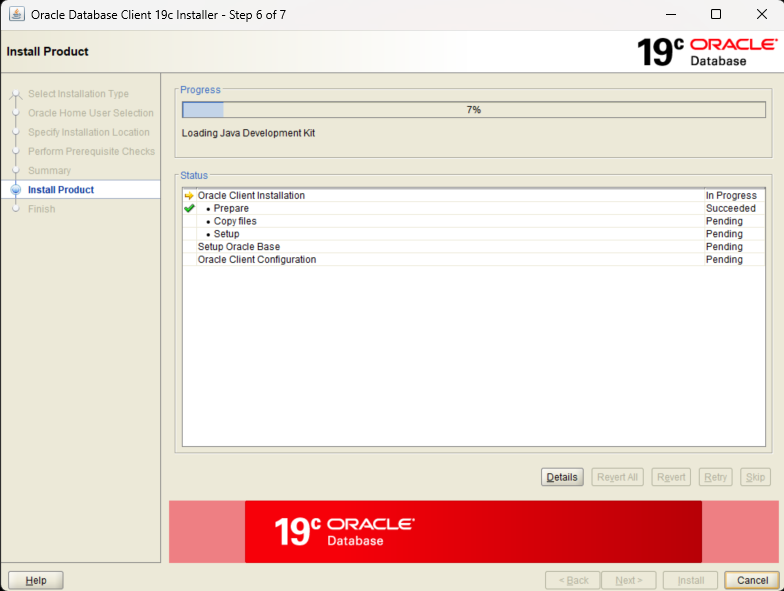
Oracle Database Client 19c enables applications, developers, and administrators to connect to Oracle databases from Windows systems. Whether you’re using SQL*Plus, SQL Developer, Oracle Data Pump, or other Oracle tools, installing the Oracle Client is the first step toward managing Oracle databases.
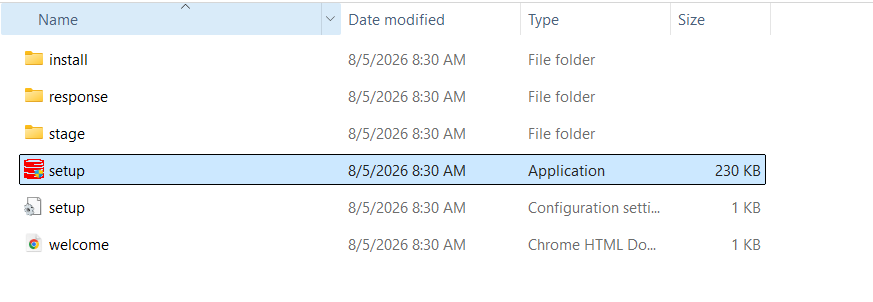
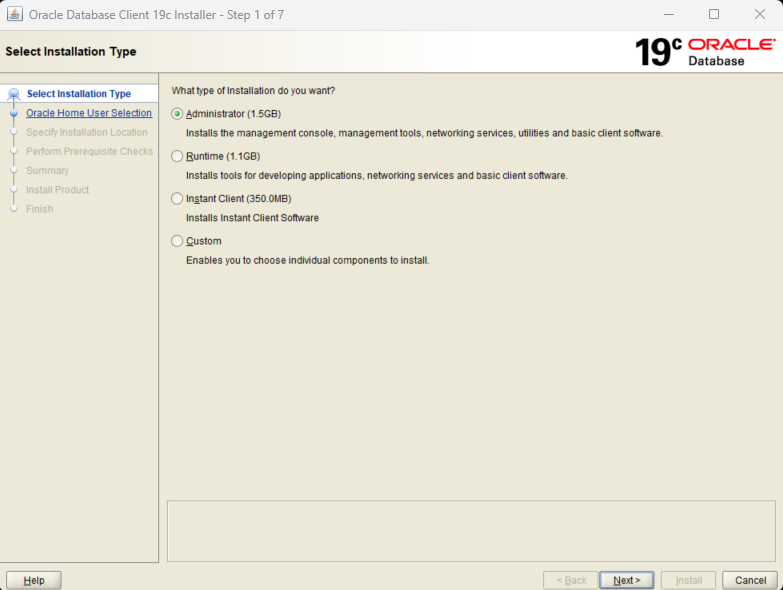
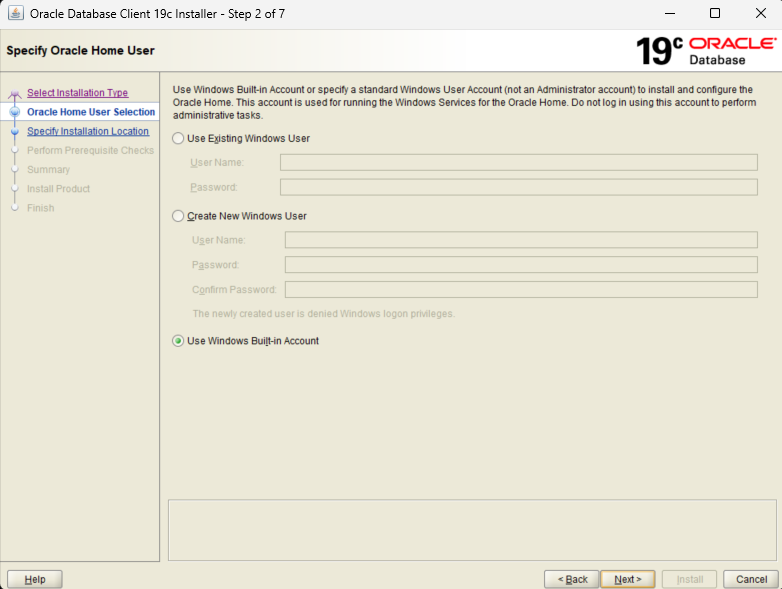
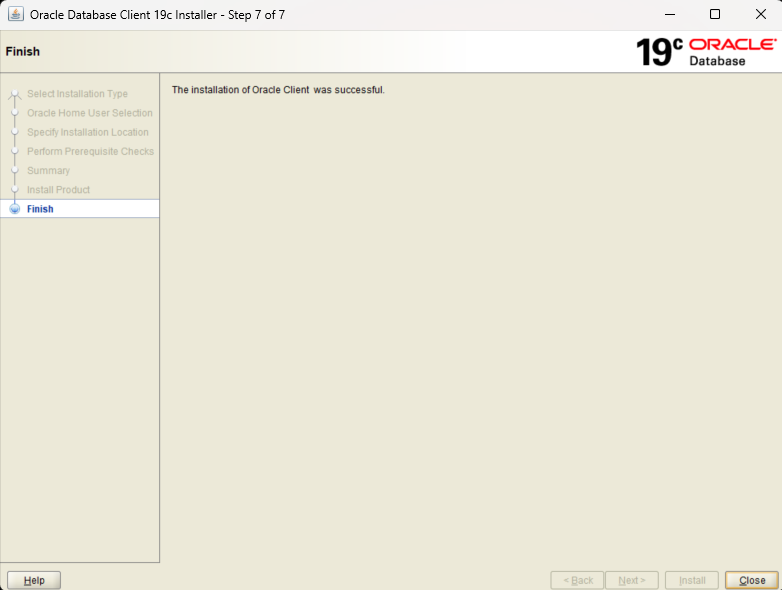
This guide walks you through installing the Oracle Database 19c Client (Administrator Installation) on Windows with screenshots for every step.
Use a different Oracle Home directory or remove the previous installation.
SQL*Plus Not Found
Verify that the Oracle Client bin directory is included in the Windows PATH environment variable.
Example:
D:\appclient\oracle\product\19.0.0\client_1\bin
TNS-12541: No Listener
Ensure the database listener is running on the target server.
Verify connectivity using:
tnsping <service_name>
TNS Could Not Resolve Service Name
Check:
tnsnames.ora
TNS_ADMIN
ORACLE_HOME
Best Practices
Install the Administrator client for DBA work.
Avoid installing multiple Oracle Homes unless necessary.
Keep Oracle Client updated with the latest Release Update (RU).
Back up your network\admin folder before upgrading.
Use meaningful Oracle Base and Oracle Home directory names.
Conclusion
Installing Oracle Database Client 19c on Windows is a straightforward process using the Oracle Universal Installer. By selecting the appropriate installation type, configuring the Oracle Home correctly, and verifying the installation afterward, you’ll have a reliable client environment ready for database administration, development, and application connectivity.
Whether you’re a DBA, developer, or system administrator, Oracle Client 19c provides the essential tools needed to interact securely and efficiently with Oracle databases.